

Learning how to change the battery in a SimpliSafe motion detector is usually a quick job. You do not need to remove the wall bracket in most cases. The sensor is designed to slide off the bracket, which gives you access to the battery compartment.
SimpliSafe currently lists one CR-123A Lithium 3V battery for both its Motion Sensor Gen 1 and Motion Sensor Gen 2. Battery life depends on use and placement. SimpliSafe lists up to five years for Gen 1 and up to four years for Gen 2, while its broader battery guide notes that real-world motion sensor life can vary with activity and location.
The most important part of this job is using the correct battery and fitting it in the correct direction. After the replacement, test the sensor. A fresh battery does not help much if the sensor is not seated correctly or the system has not re-established its connection.
What Battery Does a SimpliSafe Motion Detector Use
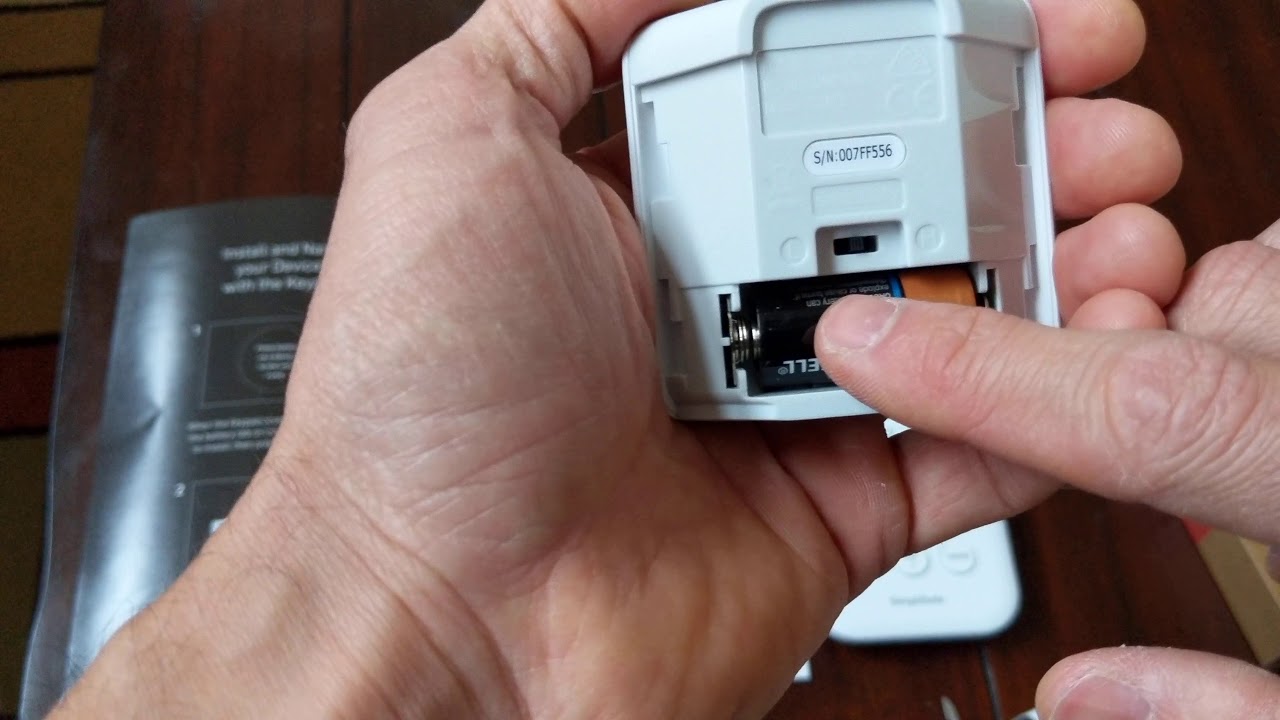
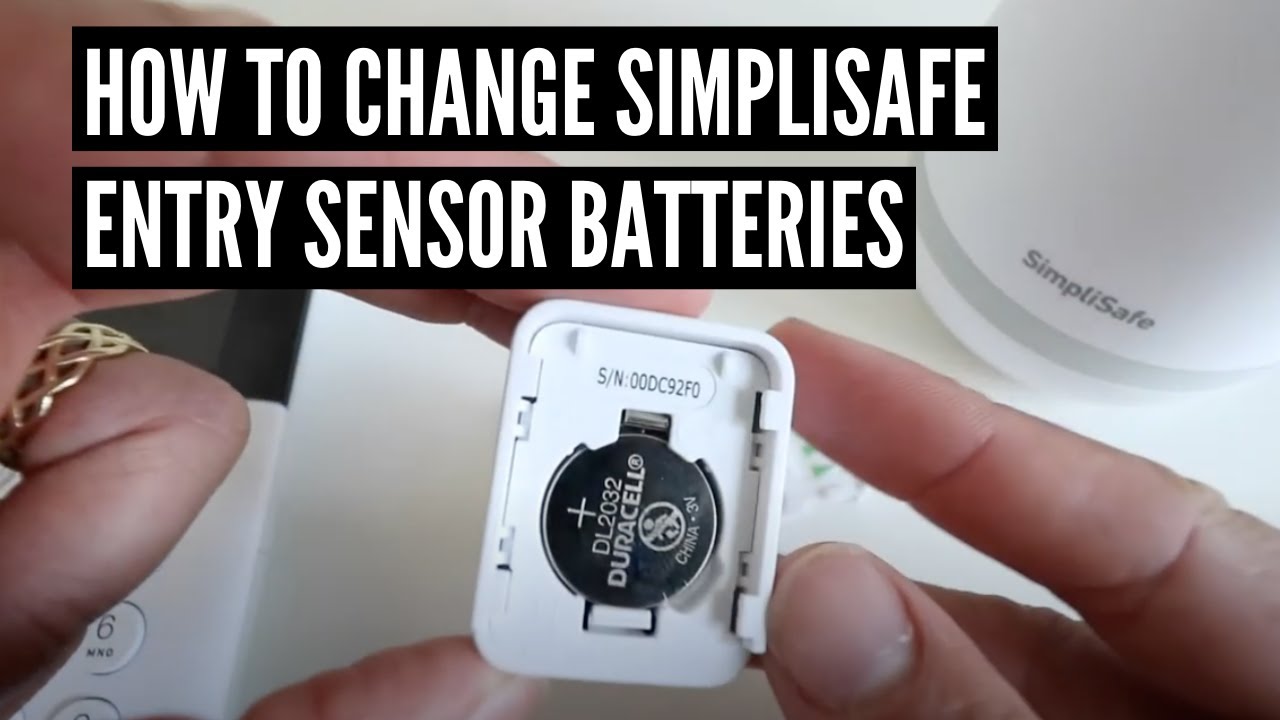
Before learning how to change the battery in a SimpliSafe motion detector, check which motion sensor you have. SimpliSafe lists a single CR-123A Lithium 3V battery for both Motion Sensor Gen 1 and Motion Sensor Gen 2. The battery is different from the CR-2032 battery used in a SimpliSafe Entry Sensor.
A CR-123A is a small cylindrical lithium battery. Do not substitute a different battery just because it looks close in size. Check the label on the old battery and the markings inside the sensor before installation.
Battery life is not a fixed number. SimpliSafe says Gen 1 can last up to five years, while Gen 2 can last up to four years, depending on placement and use. A motion sensor in a busy area may activate more often and need a replacement sooner.
- ✦ Battery type
Use one CR-123A Lithium 3V battery for the SimpliSafe Motion Sensor Gen 1 or Gen 2.
- ✦ Battery count
The motion sensor uses one battery, not a pair of batteries.
- ✦ Battery life
SimpliSafe lists up to five years for Gen 1 and up to four years for Gen 2, but actual life depends on use and placement.
- ✦ Check the old battery
If you are unsure about the model or battery type, read the label on the existing battery before buying a replacement.
How to Tell if the Battery Is Low
A low-battery warning is one of the clearest signs that your SimpliSafe motion detector needs attention. Depending on the sensor and system state, you may see a warning on the Keypad or in the SimpliSafe mobile app.
An offline or non-responsive sensor can also point to a weak battery. However, a connection problem can have other causes, so changing the battery is not always the only possible fix.
- ✦ Low-battery warning
The system may show a low-battery message when the sensor battery is running down.
- ✦ Sensor offline
An offline sensor may need a new battery, although a weak connection with the Base Station can also cause problems.
- ✦ No response during testing
If the Base Station does not respond when you test the sensor, check the battery and sensor connection.
What You Need Before Replacing the Battery
The battery replacement itself is simple. In most cases, you only need the correct replacement battery and a clear place to work. You should not need a screwdriver to slide the motion sensor from its mounting bracket.
Before you start, keep the new CR-123A battery nearby. It is also helpful to have your SimpliSafe Keypad or mobile app available so you can test the sensor after the replacement.
If the sensor is mounted high on a wall, use a stable step stool rather than stretching or standing on an unsafe surface. Home security sensors are small, but dropping one from a height can damage the housing or mounting bracket.
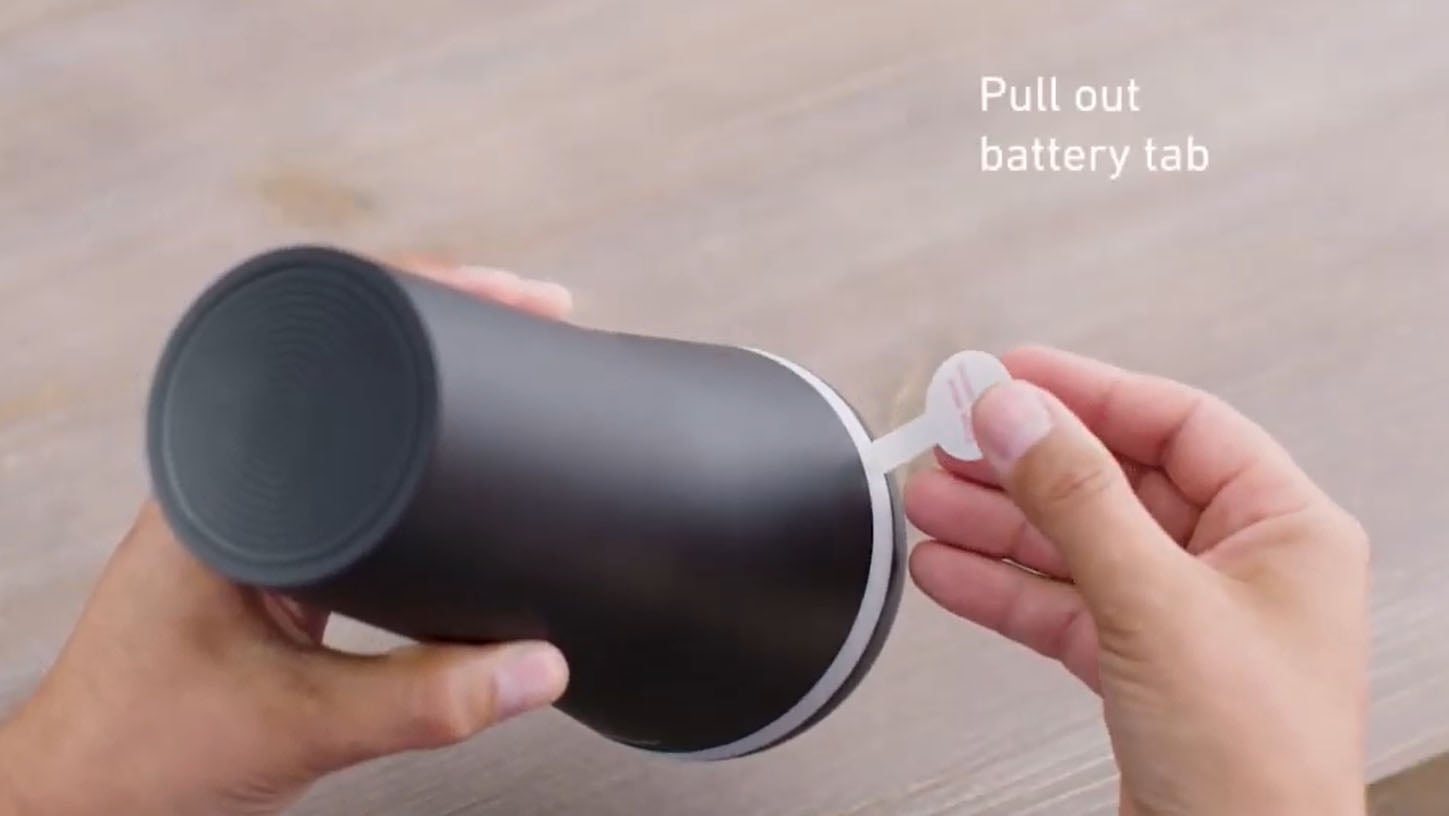
- ✦ One CR-123A Lithium 3V battery
Use the battery type specified for the SimpliSafe motion sensor.
- ✦ Your SimpliSafe Keypad
The Keypad can help you place the system into Test Mode and confirm that the sensor responds.
- ✦ SimpliSafe mobile app
The app can show device status and help you check whether the sensor reconnects.
- ✦ Stable access
If the sensor is mounted high, use a safe step stool and keep both hands available for the sensor.
Should You Disarm the System First
If your alarm is armed, it is sensible to disarm it before removing a sensor. This helps prevent an unexpected alarm while you work. The exact controls can vary by SimpliSafe system version and setup.
If your system gives you a battery warning, you can deal with the replacement during a normal maintenance check. The goal is to replace the battery without triggering an unnecessary alarm or leaving the sensor unattended for longer than needed.
- ✦ Disarm first
Disarm the security system before handling the motion sensor when appropriate for your setup.
- ✦ Work in a safe position
Keep the sensor secure while sliding it off the bracket.
How to Change the Battery in a SimpliSafe Motion Detector
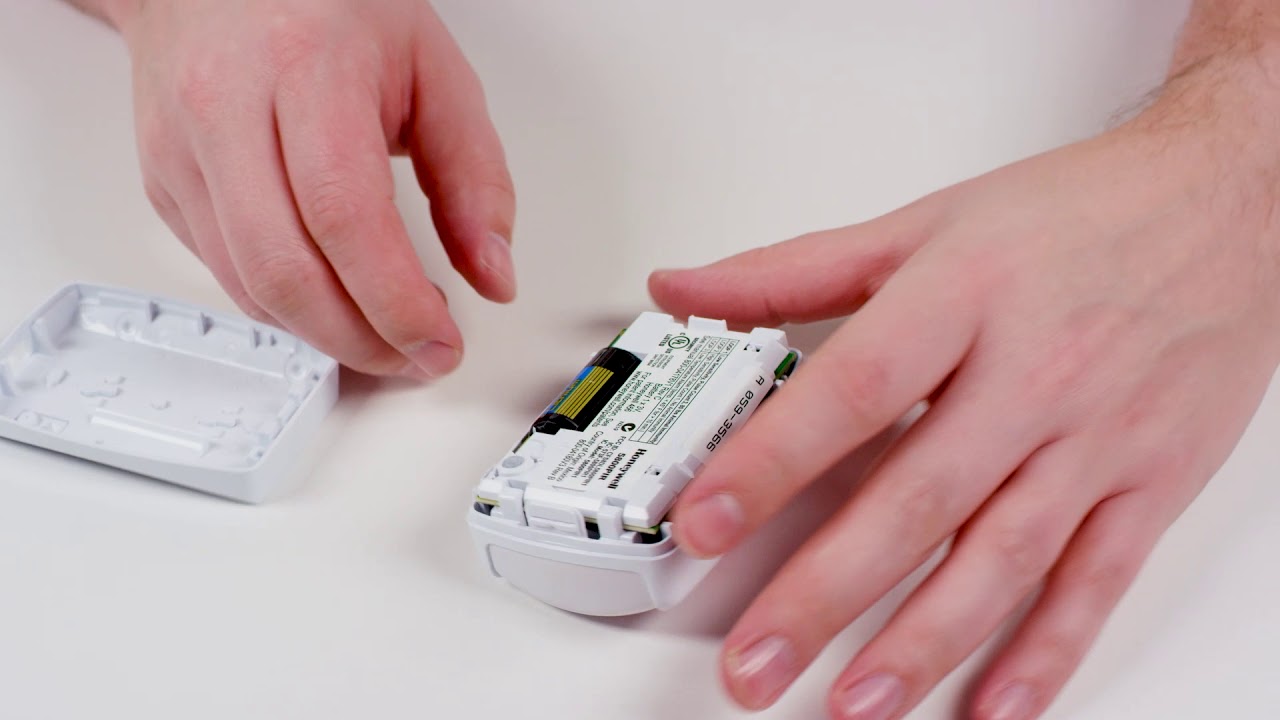
The basic process is the same for the current Motion Sensor Gen 1 and Gen 2: slide the sensor off its bracket, replace the CR-123A battery, and slide the sensor back into position. This design makes routine battery service much easier than opening a complicated wall-mounted device.
Take your time when removing the sensor. You do not need to force the housing or pry the front cover apart. The sensor is designed to come away from its mounting bracket by sliding it upward.
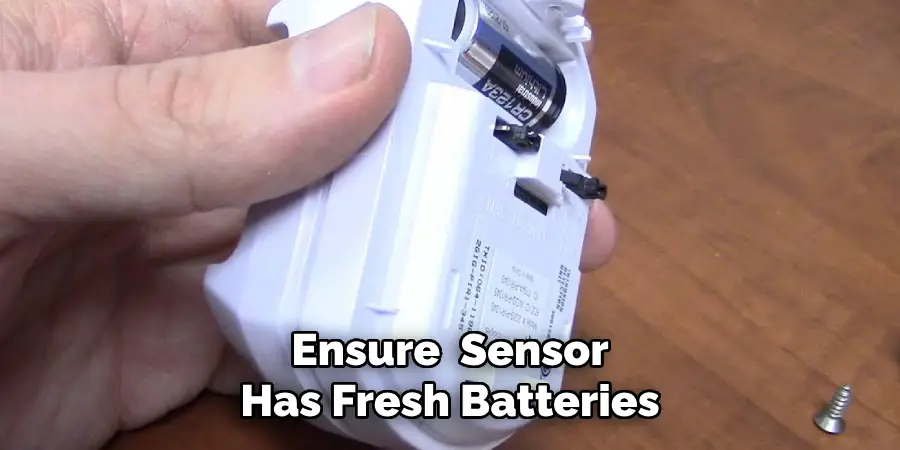
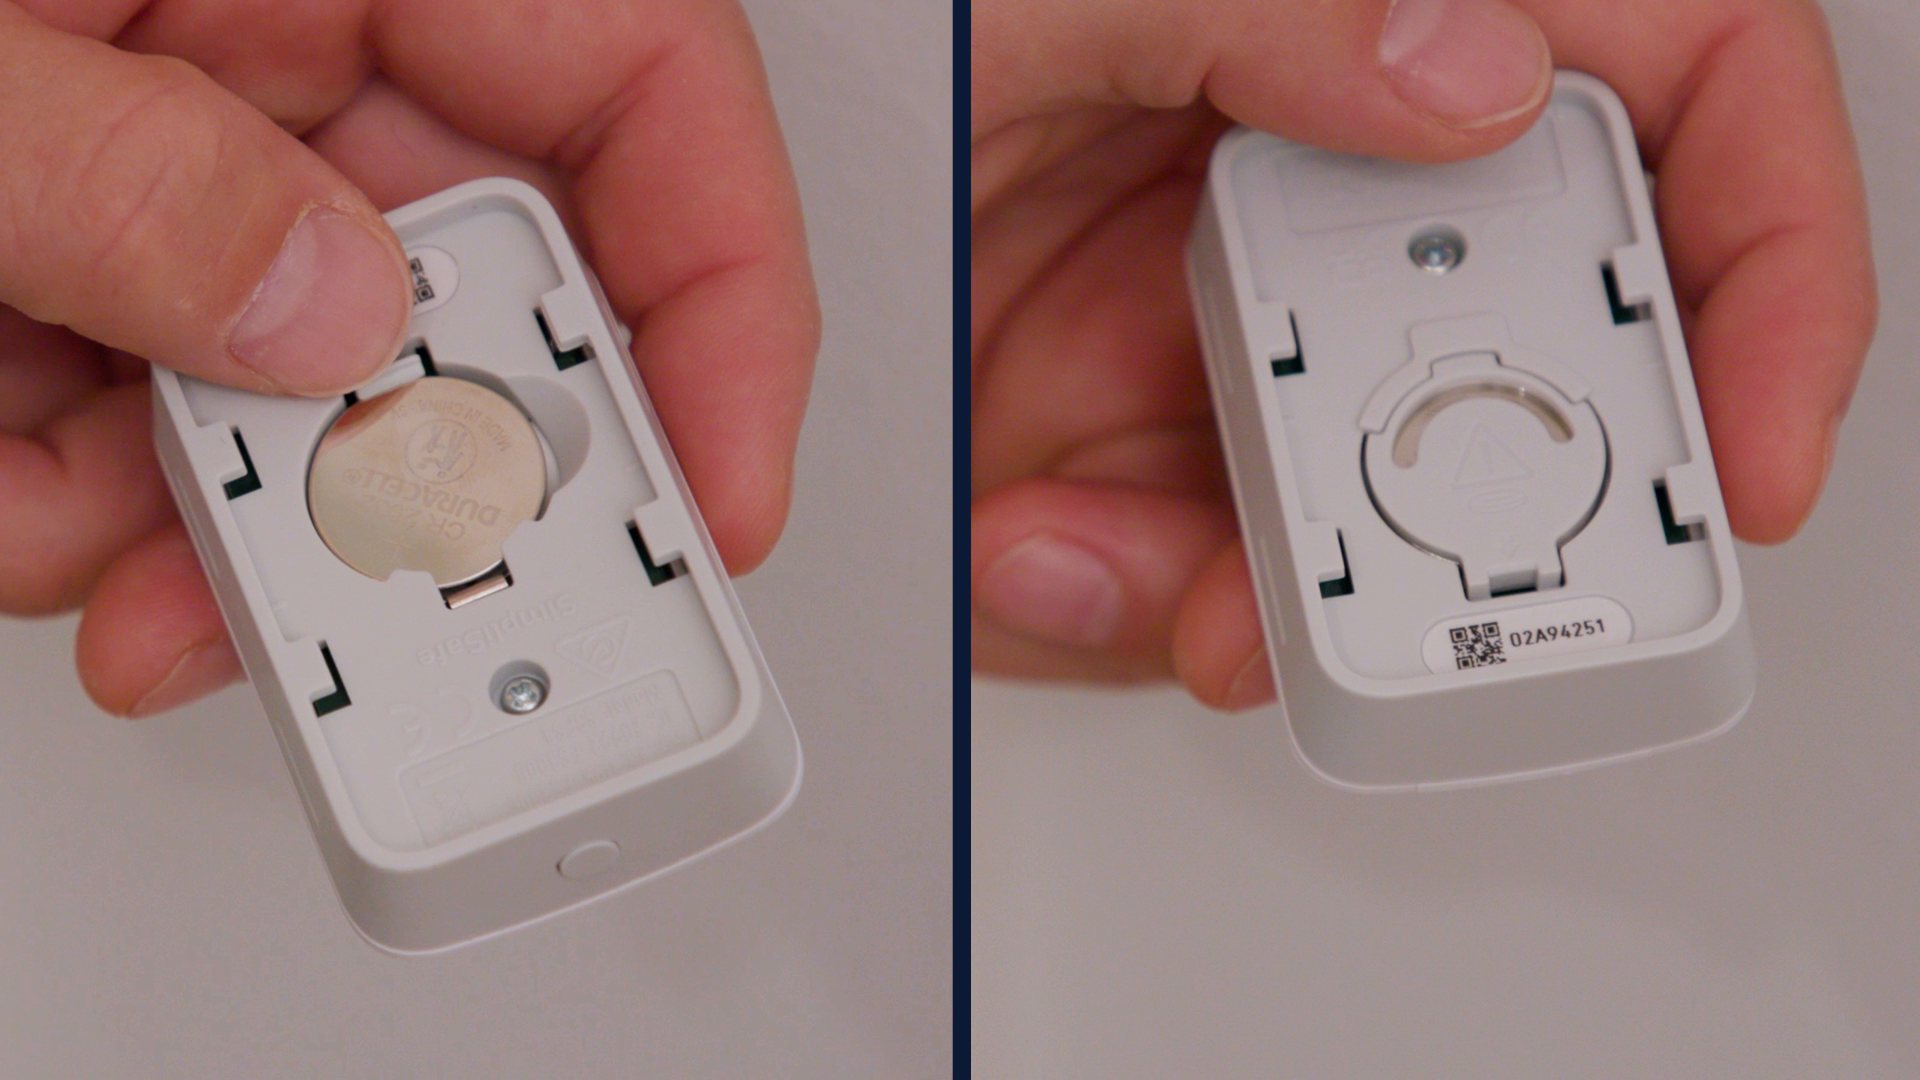
Once the old battery is removed, look at the battery markings and the contacts inside the sensor. Install the new battery in the same orientation. A battery that is reversed may prevent the sensor from operating.
- ✦ Step 1: Disarm the system
Disarm your SimpliSafe system before handling the sensor if your setup requires it.
- ✦ Step 2: Slide the sensor off
Slide the motion sensor upward and off its mounting bracket. Do not pull the bracket away from the wall.
- ✦ Step 3: Remove the old battery
Remove the existing CR-123A battery from the sensor.
- ✦ Step 4: Install the new battery
Place one new CR-123A Lithium 3V battery into the sensor. Match the positive and negative ends to the markings inside the device.
- ✦ Step 5: Reattach the sensor
Slide the motion sensor back onto its mounting bracket until it is seated properly.
- ✦ Step 6: Test the sensor
Test the motion sensor through your SimpliSafe system to confirm that it communicates with the Base Station.
Step 1: Slide the Motion Sensor Off the Bracket
Hold the sensor firmly and slide it upward so it comes away from the mounting bracket. SimpliSafe’s current instructions describe sliding the sensor up and off the bracket for both Gen 1 and Gen 2.
Do not remove the wall bracket unless you have a separate reason to do so. Leaving the bracket attached makes the battery replacement faster and helps preserve the original sensor position.
- ✦ Use gentle pressure
The sensor should slide from the bracket. Avoid twisting or prying the housing.
- ✦ Keep the bracket in place
There is normally no need to remove the wall-mounted bracket for a battery change.
Step 2: Remove the Old CR-123A Battery
With the sensor off the bracket, the battery is accessible. Remove the old CR-123A carefully. If it feels stuck, do not use a sharp metal tool that could damage the contacts or electronics.
Take a moment to note which end of the battery faces each contact. This gives you a simple visual reference when installing the new battery.
- ✦ Check polarity
Look for the plus and minus markings before removing the old battery.
- ✦ Avoid damage
Do not bend the battery contacts or force the battery out with excessive pressure.
Step 3: Install the New Battery
Insert the new CR-123A Lithium 3V battery with the polarity matched to the markings inside the sensor. The battery should sit securely in the compartment.
If the sensor does not respond after installation, remove the battery and check the orientation. A reversed battery is one of the first things worth checking when a replacement does not solve the problem.
- ✦ Use a fresh battery
Install a new CR-123A battery rather than reusing an old battery from another device.
- ✦ Match the markings
The positive and negative ends must match the polarity marks inside the sensor.
Step 4: Slide the Sensor Back Onto the Bracket
After installing the battery, place the sensor back onto its mounting bracket. Slide it into position with steady pressure. Make sure it sits securely before you leave it.
Keeping the sensor in its original position matters because the mounting location affects what the motion detector sees. A major change in angle can alter the area monitored by the sensor.
- ✦ Seat the sensor
Make sure the sensor is fully back on its bracket before testing it.
- ✦ Keep the original angle
Avoid changing the sensor’s position unless you also intend to change the monitored area.
How to Test a SimpliSafe Motion Detector After Battery Replacement
Knowing how to change the battery in a SimpliSafe motion detector is only half the job. You should also confirm that the sensor is communicating with the system. This is especially important if you replaced the battery because the sensor went offline or stopped responding.
One useful option for Gen 1 is Test Mode. SimpliSafe’s instructions say to use the Keypad to enter Test Mode, then press and release the button on the motion sensor. The Base Station should announce the sensor, and the app timeline should show the motion sensor test.
For a basic check, you can also watch the app for the sensor’s status and trigger movement in the monitored area. The exact app display can vary with the SimpliSafe system and software version.
- ✦ Use Test Mode
On supported systems, use the Keypad to enter Test Mode and trigger the motion sensor.
- ✦ Check the Base Station
A successful test should produce the expected Base Station response for the sensor.
- ✦ Check the app
Look at the SimpliSafe mobile app to confirm that the sensor is communicating with the system.
- ✦ Test before relying on it
Do not assume the battery replacement worked simply because the sensor is back on the wall.
How Long Does the Low-Battery Warning Take to Clear
A low-battery message may not disappear from the SimpliSafe mobile app right away. SimpliSafe notes that a battery warning can take up to 24 hours to clear after a battery replacement.
If you want to restore the status sooner, SimpliSafe provides additional troubleshooting steps. These can include testing the sensor or removing the sensor from the app and adding it again.
- ✦ Wait for the app
The warning may take time to update after the new battery is installed.
- ✦ Test the sensor
A successful sensor test can help re-establish communication.
- ✦ Re-add the sensor if needed
If the sensor remains offline, removing it from the app and adding it again may resolve the connection issue.
What to Do if the SimpliSafe Motion Detector Still Shows Offline
Replacing the battery should solve many battery-related problems, but it does not guarantee that every offline warning will disappear at once. The sensor may have been offline for a long time, the battery may not be seated correctly, or the device may have a communication issue with the Base Station.
Start with the simple checks. Confirm that the CR-123A battery is installed correctly, make sure the sensor is fully seated on the bracket, and test the sensor again.
If the sensor still does not reconnect, SimpliSafe recommends removing the affected sensor from the mobile app and adding it back to the system. This can be useful when the device has remained offline for too long.

- ✦ Check battery polarity
Remove and reinstall the battery if you are not certain that the positive and negative ends are correct.
- ✦ Check the sensor position
Make sure the motion detector is properly seated on its mounting bracket.
- ✦ Test the sensor
Use your system’s Test Mode when available to check communication with the Base Station.
- ✦ Check the Base Station
A sensor can appear unresponsive when there is a communication problem between the device and Base Station.
- ✦ Remove and add the sensor again
If the sensor remains offline, use the SimpliSafe app’s Device Settings to remove the sensor and then add it back using the system’s installation process.
How to Remove a Motion Sensor From the SimpliSafe App
If your sensor remains offline after a battery replacement and test, the SimpliSafe app provides a way to remove the device. Open the app, go to My System, select Device Settings, choose the affected sensor, and select Remove Device.
After removal, follow the SimpliSafe installation process to add the sensor again. Keep the sensor close enough to the Base Station during setup if the installation instructions for your system call for it.
- ✦ Open the app
Launch the SimpliSafe mobile app on your phone or tablet.
- ✦ Open My System
Use the My System section from the app navigation.
- ✦ Open Device Settings
Select Device Settings and then choose the motion sensor.
- ✦ Remove the device
Choose Remove Device and then follow the installation process to add the sensor again.
Gen 2 Low-Battery Warning After a New Battery
A Motion Sensor Gen 2 can sometimes show a low-battery warning shortly after installation or replacement. SimpliSafe says that, in some cases, this may relate to firmware rather than the battery itself.
If you have a Gen 2 sensor with an unexpected low-battery warning, check that your Base Station firmware is current. SimpliSafe has also published a specific troubleshooting process that includes power cycling the sensor by removing the battery for 30 seconds before reinstalling it.
- ✦ Check firmware
Make sure the Base Station software is up to date when a Gen 2 sensor reports an unexpected battery warning.
- ✦ Power cycle the sensor
For the Gen 2 troubleshooting process, SimpliSafe advises removing the battery for 30 seconds and then reinstalling it.
- ✦ Refresh the app
Refresh the SimpliSafe app after power cycling and check whether the warning remains.
Common Mistakes When Replacing a SimpliSafe Motion Sensor Battery
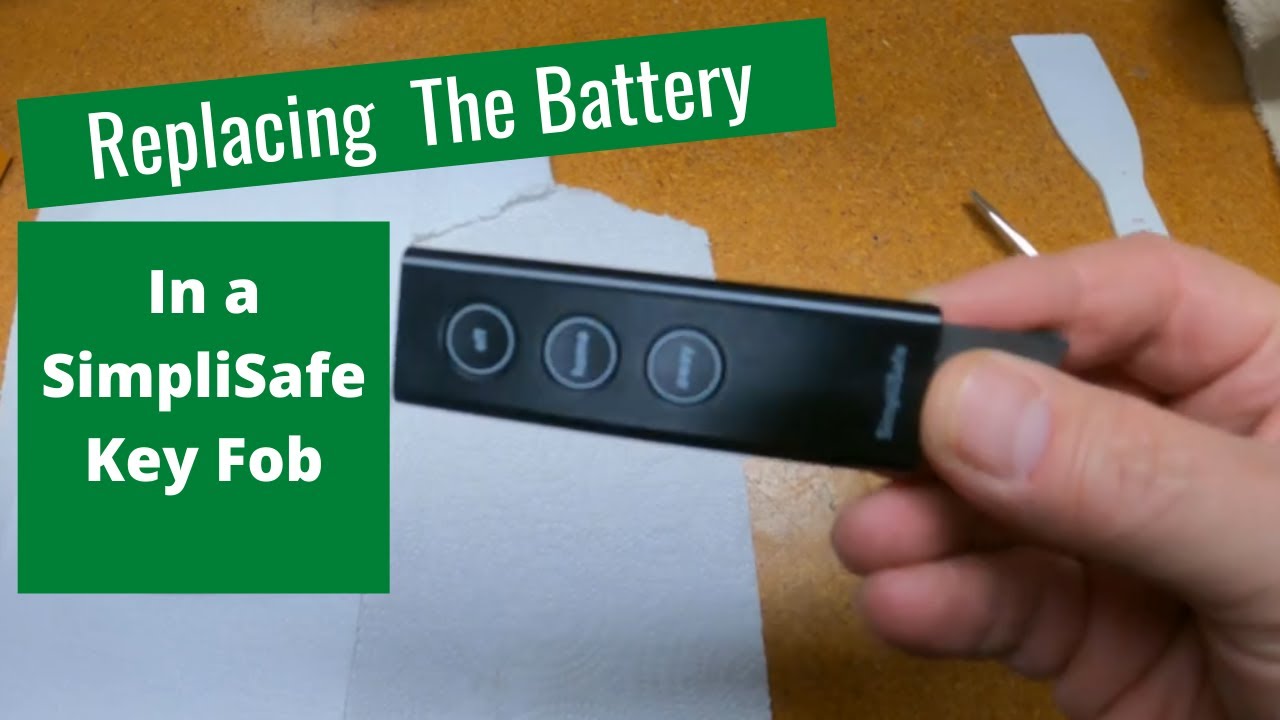
Battery replacement is easy, but a few small mistakes can cause confusion. The most common issue is buying the wrong battery. SimpliSafe motion sensors use a CR-123A Lithium 3V battery, while other SimpliSafe sensors may use different battery types.
Another common mistake is assuming that the sensor is fixed when it is actually designed to slide off the bracket. Trying to pry the housing apart can create unnecessary risk of damage.
It is also easy to stop after installing the battery without testing the sensor. A proper test takes only a short time and can reveal a bad battery, incorrect installation, or a communication issue before you depend on the alarm system.
- ✦ Using the wrong battery
Do not confuse the CR-123A motion sensor battery with the CR-2032 battery used in many SimpliSafe Entry Sensors.
- ✦ Removing the wall bracket
The sensor normally slides off the bracket, so removing the bracket is unnecessary for a routine battery change.
- ✦ Installing the battery backward
Always match the battery polarity to the markings inside the sensor.
- ✦ Skipping the test
Always confirm that the sensor communicates with the Base Station after replacement.
- ✦ Changing the sensor angle
Avoid moving the sensor to a new position unless you intend to change its detection area.
Do You Need to Replace the Whole Motion Sensor
Usually, a low-battery warning does not mean you need a new motion sensor. The Gen 1 and Gen 2 motion sensors have replaceable CR-123A batteries.
If a fresh battery does not restore normal operation, troubleshoot the connection and system status before assuming that the hardware has failed. If the sensor still does not work after the recommended troubleshooting steps, contacting SimpliSafe support is the sensible next step.
- ✦ Try a fresh battery first
A low-battery problem should normally be handled with a battery replacement.
- ✦ Test communication
Confirm that the sensor can communicate with the Base Station.
- ✦ Contact support when needed
If the sensor remains faulty after proper battery replacement and troubleshooting, seek help from SimpliSafe support.
How to Get Longer Battery Life From a SimpliSafe Motion Detector
The best way to extend battery life is to use the sensor in a suitable location and avoid unnecessary activity when possible. Motion sensors use more energy when they are triggered often, so a sensor facing a busy area may use its battery faster than one in a quiet room.
SimpliSafe’s battery guidance makes clear that published battery life is an estimate based on use and placement. This is why one motion sensor may need a replacement much earlier than another sensor in the same home.
You should also respond to low-battery warnings instead of waiting for the sensor to stop working. Replacing the battery during normal home maintenance helps keep the security system ready when you need it.
- ✦ Avoid unnecessary motion
If practical, position the sensor so it does not monitor areas with constant movement that does not need to be detected.
- ✦ Keep the sensor correctly positioned
A stable position helps the sensor cover the intended area without unnecessary changes.
- ✦ Replace batteries when warned
Do not wait until the sensor becomes completely unresponsive before replacing a known weak battery.
- ✦ Keep spare batteries available
Keeping a fresh CR-123A battery at home can make routine sensor maintenance easier.
Why Some Motion Sensors Use Batteries Faster
Battery life depends on how often a sensor activates and the conditions around it. A motion sensor near a frequently used hallway, entrance, or other busy area may activate more often than one in a low-traffic room.
This does not automatically mean the sensor is defective. It can simply reflect the way the sensor is being used. If battery life seems unusually short, review the sensor’s location and check the system for other warnings before replacing it again.
- ✦ High traffic
Frequent movement can cause more sensor activity and may reduce battery life.
- ✦ Sensor placement
The location and monitored area can affect how often the sensor is triggered.
- ✦ Battery quality
Use a suitable CR-123A Lithium 3V battery from a reliable source and check its condition before installation.